Trimming your horse’s tail can seem like a daunting task, but with the right preparation and tools, it can be done safely and effectively.
1. Prepare Your Horse
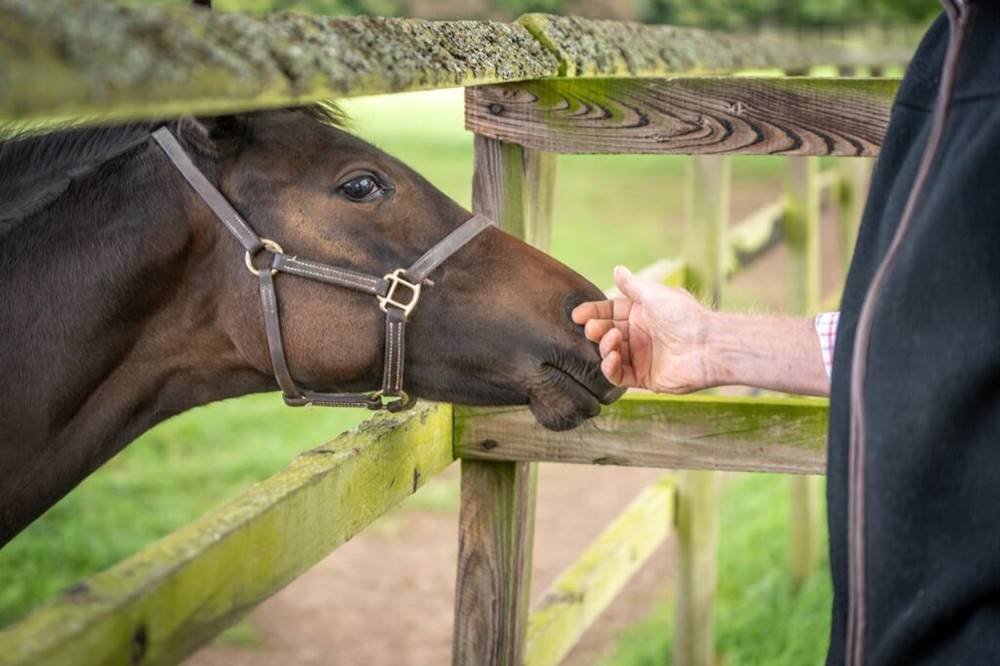
Before starting, make sure your horse is calm and secure. It’s best to trim the tail when the horse is tied safely or held by an experienced handler. If your horse is not used to having its tail worked on, you may want to spend some time desensitizing the area by gently rubbing its tail and back end with your hands or a soft brush. Make sure the area around the tail is clean and dry.
2. Clean the Tail
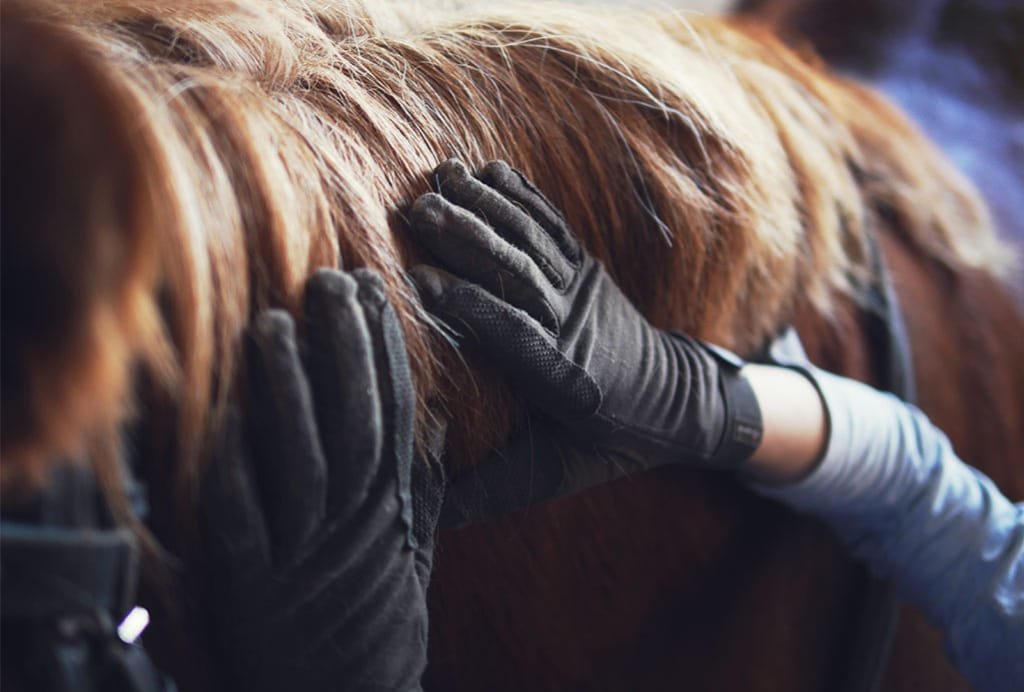
Thoroughly brush through your horse’s tail to remove any tangles, dirt, or debris. You can use a tail comb or a wide-toothed comb to gently detangle any knots. If needed, you can wash the tail with a sponge and warm water, especially if it’s very dirty. Dry the tail completely before trimming to avoid slippery hair that can be harder to handle.
3. Determine the Desired Length
The first step in trimming a horse’s tail is deciding how much length to remove. Typically, the tail is trimmed to a length that allows it to reach just below the hocks or slightly higher, but this can vary depending on the breed, style, and purpose of the trim. Some people prefer a neat and tidy look just above the ground, while others may prefer a longer tail for certain shows.
To measure, you can use a piece of string or a tail holder to mark the desired length. Mark the spot on the tail where you want to start cutting. Make sure you check both sides of the tail to ensure the length will be even.
4. Trimming with Scissors or Clippers
- Using Scissors: If you’re using scissors, always use a sharp, high-quality pair to avoid uneven cuts. Begin by trimming the tail in small sections. For a more natural look, trim the tail hair at an angle rather than straight across. Trim a small amount at a time to avoid taking off too much.
- Using Clippers: If you are using clippers, be sure to use a quiet, low-vibration clipper to keep the horse calm. Start trimming from the bottom of the tail and work upwards. Move the clippers in small, even strokes, following the natural flow of the hair. Clippers generally provide a cleaner and more professional-looking finish than scissors.
5. Trim the Bottom of the Tail
Once you’ve achieved the desired length, focus on the bottom of the tail to make it look neat. For a clean finish, you can trim the ends of the hair to remove any split ends or uneven pieces. If the tail hair is thick, consider thinning it out slightly by gently combing through and trimming any excess bulk.
6. Final Touches
Once the tail has been trimmed to the desired length, take a step back and check it from different angles. Make sure both sides are even and that the cut is straight or has a natural, rounded shape. If necessary, use the scissors or clippers for any final touch-ups.
7. Clean Up
After the trimming is complete, gently brush the tail one more time to remove any loose hair. You can also apply a detangling spray to the tail to help prevent knots from forming and keep the tail shiny and smooth. If you like, you can use a tail bandage or tail bag to protect the tail and prevent it from getting dirty immediately after trimming.
Safety Tips
- Stay Calm and Gentle: Horses can become anxious if the trimming process is rushed or too forceful. Always stay calm and work at a slow pace to avoid causing stress or injury to the horse.
- Use the Right Tools: Dull scissors or clippers can cause injury to the horse’s tail and make the job harder. Always ensure your tools are in good working condition.
- Work in a Well-Lit Area: Make sure the area where you are working is well-lit, so you can see clearly and avoid mistakes.
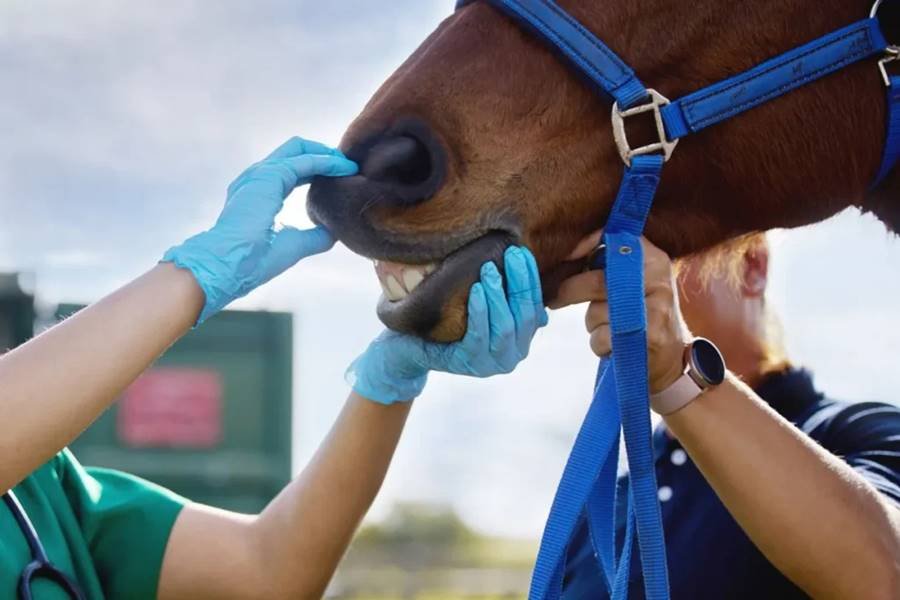
- Check the Horse’s Tail for Injury: Before trimming, check the tail for any cuts, sores, or irritation. If the tail seems painful or the horse reacts when touched, it’s best to have a vet check it before attempting any grooming or trimming.
Whether you’re trimming for cosmetic reasons or to maintain cleanliness, following these steps will help you achieve a neat, healthy-looking tail that enhances your horse’s overall appearance. Always prioritize your horse’s comfort and safety, and seek professional help if you’re unsure about trimming or if any health issues arise.